What is ISO in Photography? Understand Your Camera Settings
Are you a technology enthusiast, aspiring photographer, or videographer looking to up your creativity game? One crucial aspect you need to understand to achieve stunning visual results is ISO.
Mastering ISO allows you to take control of your camera and capture impressive, high-quality images and videos. In this blog post, we'll explore the importance of ISO, how to use it effectively, and answer some
common questions related to this fundamental camera setting.
Table of contents
Quick Definition: ISO
ISO (International Standards Organization) in photography refers to the sensitivity of your camera's sensor to light. It is one of the three elements of the exposure triangle, along with aperture and shutter speed, that help create the perfect exposure for your image or video.
What is ISO?
In the realm of photography and videography, ISO acts as a control for the sensitivity of your camera's sensor to available light. A lower ISO value (e.g., ISO 100 or 200) indicates lower sensitivity to light, making it suitable for brightly lit conditions. In contrast, a higher ISO value (e.g., ISO 800, 1600, or beyond) suggests higher sensitivity to light, which is perfect for dimly lit scenarios.
However, it's essential to note that while a high ISO can help capture images in low light, it may introduce more digital 'noise' or grain into the picture. In videography, the concept remains the same; the higher the ISO, the brighter the video. Mastery of ISO allows photographers and videographers to adapt to various lighting conditions, thereby enhancing the overall quality of their work.
Importance of ISO in photography
Understanding and controlling ISO plays a vital role in producing correctly exposed images in various lighting conditions. It allows you to adapt your camera settings to achieve the desired brightness and maintain the ideal balance between image quality and noise levels, especially in challenging environments such as low-light situations.
Understanding ISO values
ISO values are typically represented as numbers such as 100, 200, 400, 800, and so on. The lower the ISO number, the less sensitive the sensor is to light, while the higher the number, the more sensitive it becomes. Higher ISO values allow for faster shutter speeds and smaller apertures in low-light conditions, but they may also introduce noise or grain into your images.
What ISO should you use?
Portrait
For portrait photography, it's generally recommended to use a lower ISO value like 100 or 200 to produce clean, noise-free images with smooth skin tones. Also, using natural light or a proper lighting setup will help you maintain a low ISO for optimal results.
Low-light
In low-light situations, you may need to increase the ISO value to achieve a proper exposure. However, be cautious not to go too high, as this will introduce noise into your images. Instead, try using a tripod, a wider aperture, or a slower shutter speed to compensate for the lack of light.
Videography
For videographers, the ideal ISO setting will depend on the scene's lighting conditions and the desired exposure. It's generally preferable to use a lower ISO for optimum image quality. However, you may need to increase ISO to accommodate fast-paced action or low-light environments.
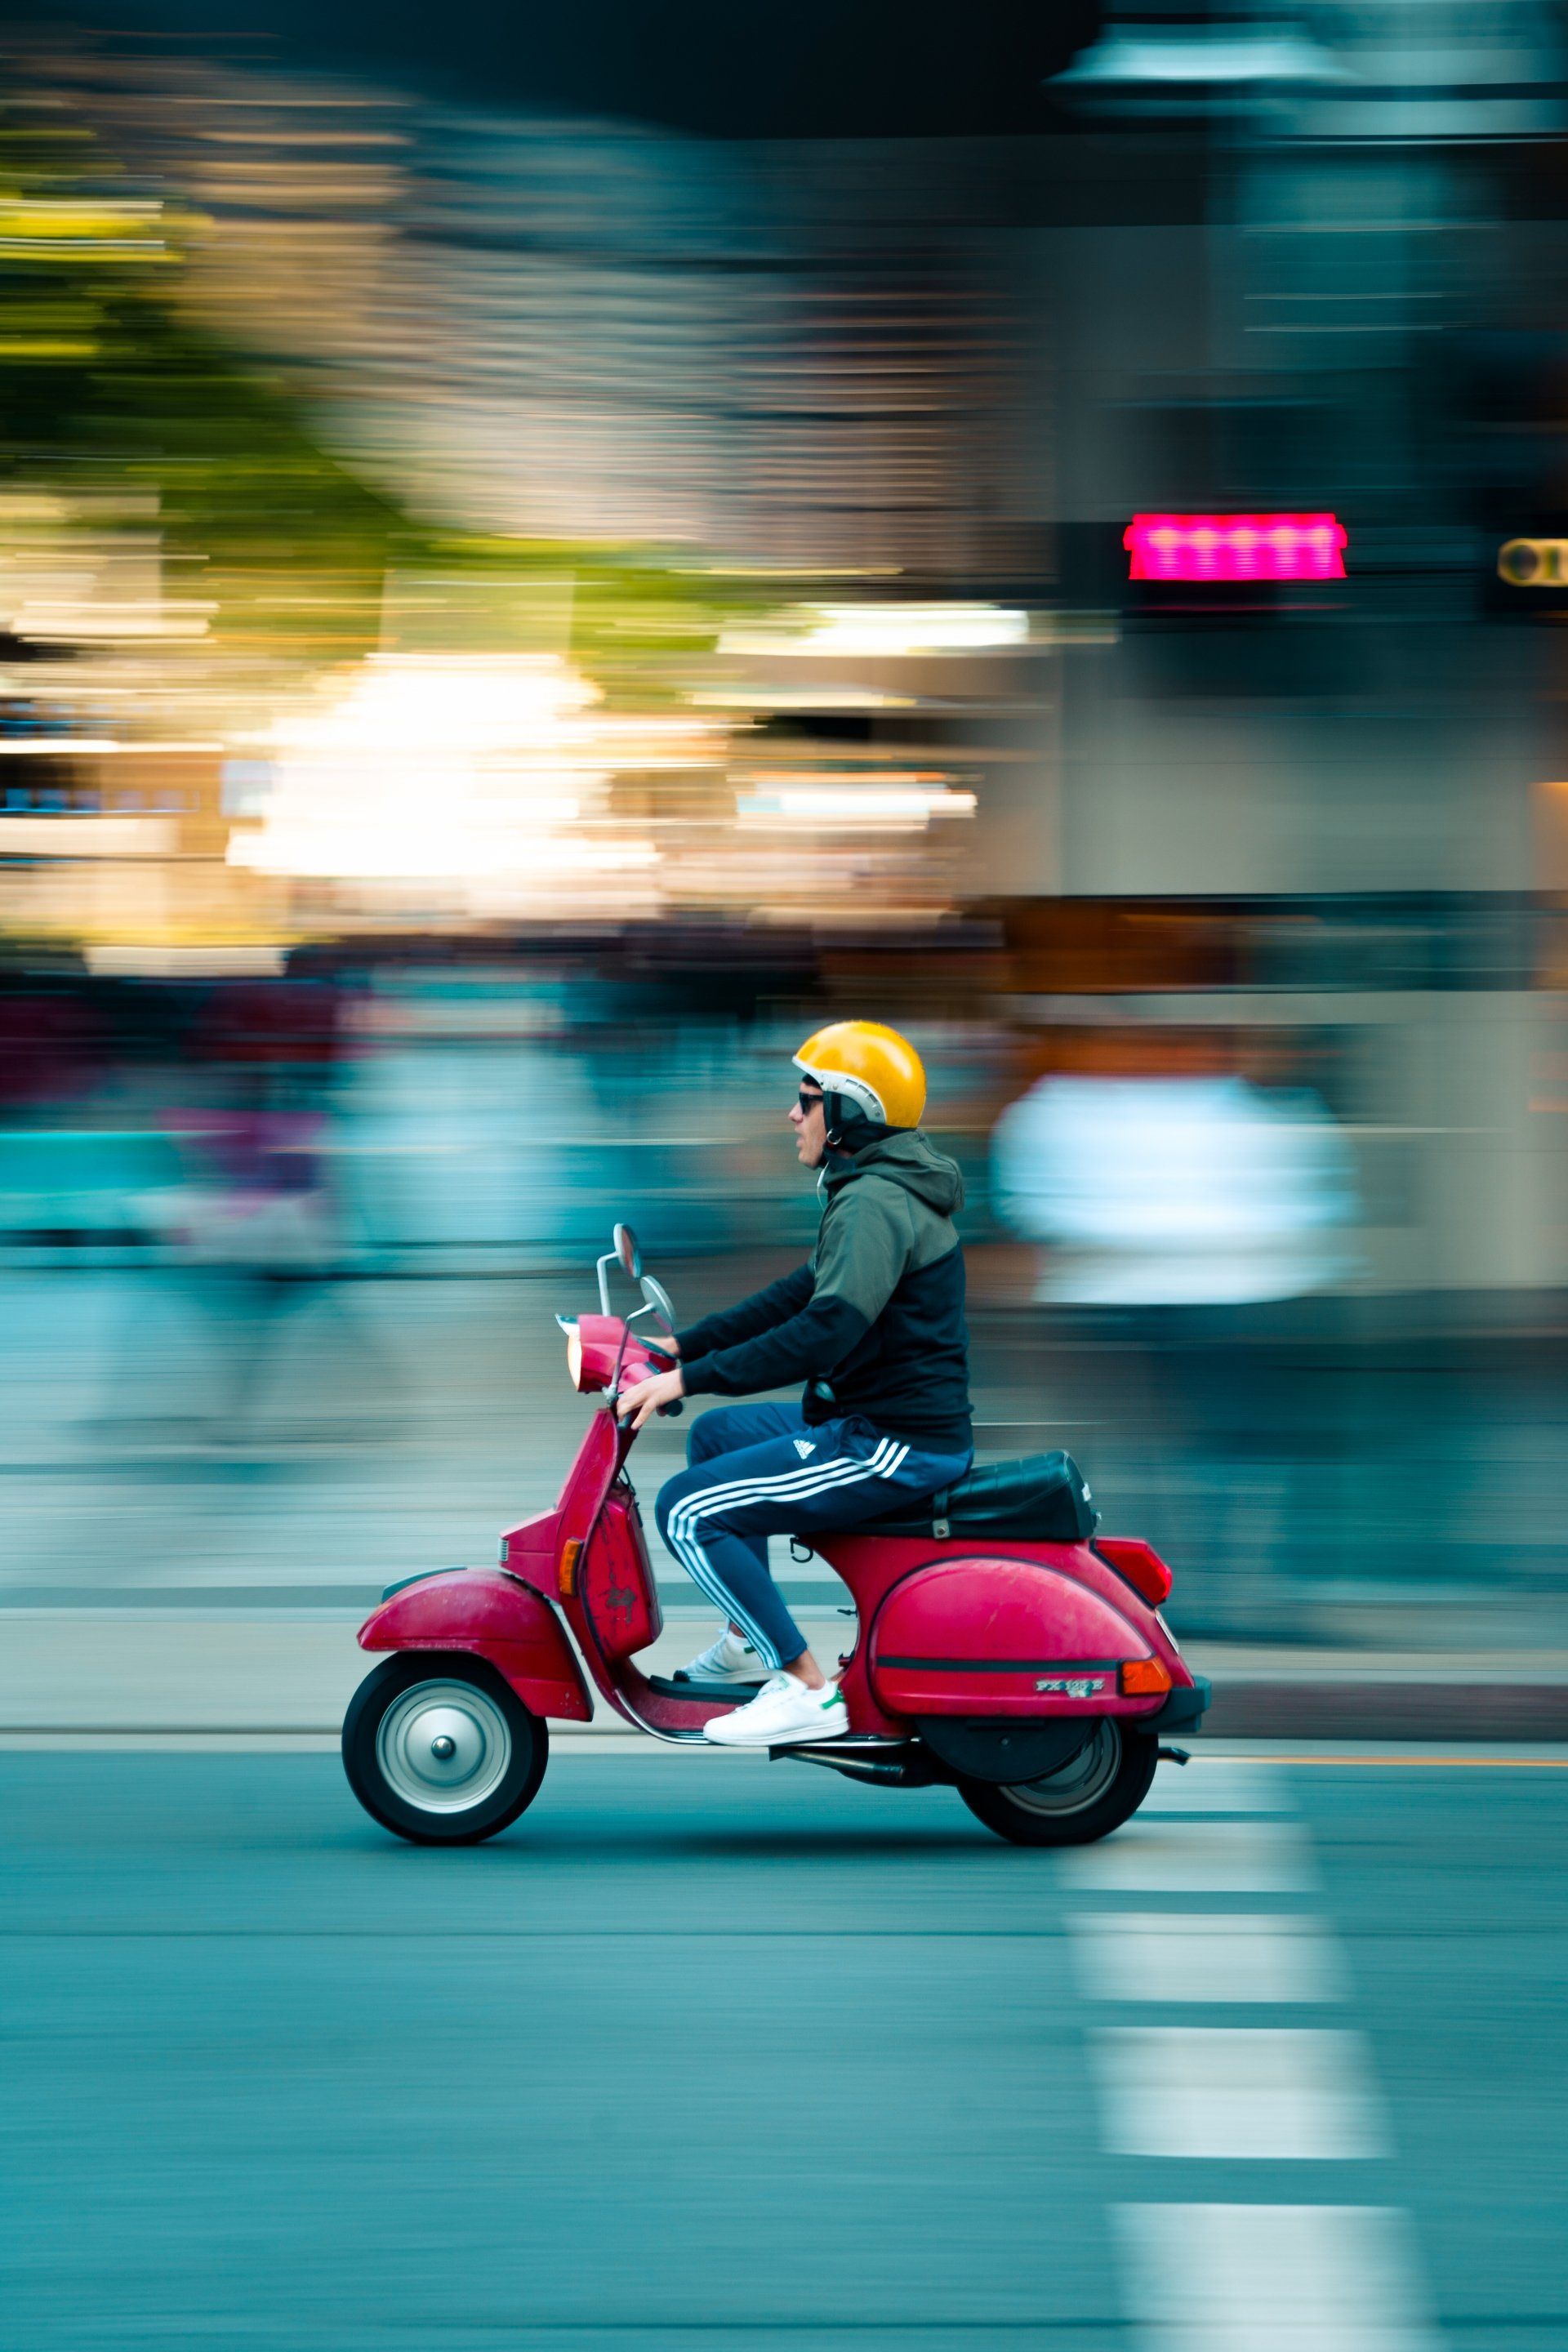
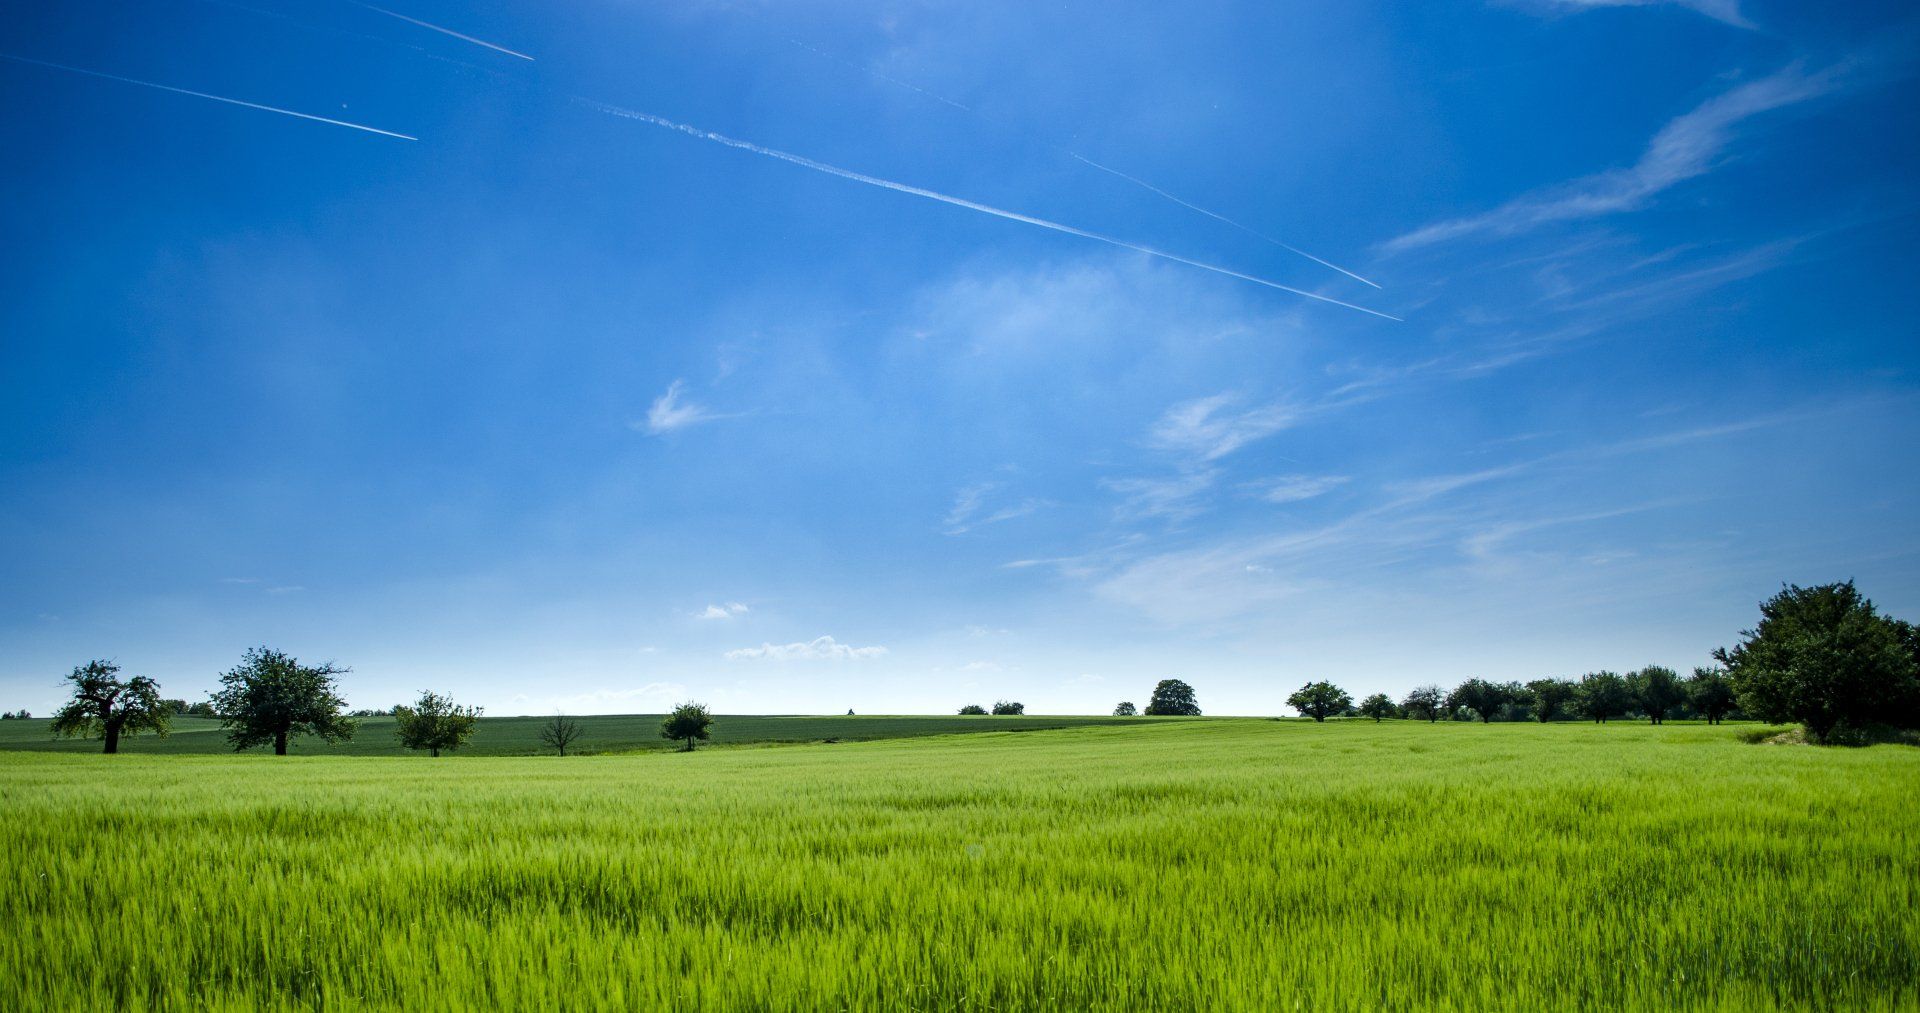
Below is an example image shot in broad daylight that uses a low ISO to retain image quality while capturing details during daytime.
High vs. low ISO
High ISO
A high ISO range typically starts from 800 and goes up to 6400 or even higher. These values make the camera's sensor more sensitive to light, allowing you to capture images in environments with limited lighting. However, while high ISO settings can help you achieve the correct exposure in dim conditions, they also tend to introduce more noise or grain into the image, potentially reducing its overall quality. It's a trade-off between image brightness and noise levels, and knowing when to use high ISO requires understanding your camera and the specific lighting conditions.
Here are some key points regarding high ISO:
- Increased sensitivity to light
- Allows for faster shutter speeds and smaller apertures
- Can introduce noise or grain into images
Low ISO
A low ISO setting typically ranges from 100 to 200. These values make the camera's sensor less sensitive to light, which is perfect for shooting in bright conditions where there is ample natural light. Using a low ISO setting contributes to producing crisp, high-quality images with minimal noise or grain. It's essential to use low ISO when possible, especially in well-lit scenarios, to maintain image clarity and quality.
Here are some key points regarding low ISO:
- Decreased sensitivity to light
- Ideal for well-lit conditions
- Produces high-quality images with minimal noise or grain
- May require additional light sources or a tripod in low-light situations to avoid underexposure.
- Lower sensitivity to light
- Typically results in cleaner, noise-free images
- Requires adequate lighting or slower shutter speeds and wider apertures
| ISO Value | Ideal Use |
|---|---|
| 100 | Bright daylight, outdoor photography with plenty of light. Produces the least amount of noise. |
| 200 | Slightly overcast conditions or when you want a bit more sensitivity than ISO 100. |
| 400 | Indoors with good lighting or outdoor conditions with less light. A versatile setting for various lighting conditions. |
| 800 | Low-light conditions, indoors with dim lighting, or when you need a faster shutter speed. |
| 1600 | Low-light situations where a higher sensitivity is necessary, but be cautious of potential increased noise. |
| 3200 | Low-light or fast-action situations, such as indoor sports. Noise might become more noticeable. |
| 6400 | Low-light conditions where high sensitivity is crucial. Expect increased noise, but modern cameras handle it well. |
| 12800 | Extreme low-light situations. Use sparingly, as noise will be more pronounced. Post-processing can help mitigate noise. |
| 25600 | Very low-light or night photography. Expect significant noise, and post-processing may be required. |
How does ISO affect my photos and videos?
ISO impacts your photos by either brightening or darkening the image. A higher ISO number increases the sensor's sensitivity to light, resulting in a brighter image, which can be useful in darker environments. However, higher ISO values also introduce more digital noise or grain, which can reduce the image's overall quality. Conversely, a lower ISO results in a darker, but often higher-quality image.
How do you adjust the ISO on your camera?
Adjusting the ISO on your camera will depend on the specific model of your camera, but the general process is usually quite similar across different cameras. Firstly, you'll need to locate the 'ISO' button or menu item on your camera. This is commonly found on the camera's back or top, but you may need to delve into the menu system on some models. Once you've found the ISO control, you can typically adjust the ISO level by either turning a dial or navigating through options on a screen.
Remember, the higher the ISO number, the greater the camera's sensitivity to light, and vice versa for a lower ISO number. Always take a few test shots to ensure the ISO level is appropriate for your shooting conditions.
Is it better to use automatic or manual ISO?
Whether to use automatic or manual ISO largely depends on your specific shooting scenario and your comfort level with adjusting camera settings. Automatic ISO can be a great tool when you're working in changing light conditions, as it allows the camera to adjust its light sensitivity on the fly. This way, you can focus more on composition and framing, knowing your camera has your back with the exposure.
On the other hand, using manual ISO gives you complete control over your camera's light sensitivity. This can be particularly beneficial in situations where you want to ensure the cleanest image possible, or if you're trying to achieve a specific effect, such as motion blur or freeze motion. However, remember that working with manual ISO requires a comprehensive understanding of how changes to ISO will impact your image.
In the end, the choice between automatic and manual ISO is a personal one. Experiment with both options to see which suits your style and situation best. Remember, there's no 'wrong' choice here - only the choice that helps you capture your vision.
Noise produced by ISO
Increasing the ISO can indeed introduce 'noise' or 'grain' into your photos and videos. This phenomenon occurs because raising the ISO increases the camera's sensitivity to light, but it also amplifies the camera's digital signal, which can result in the appearance of random bright pixels, or 'noise'.
This noise can obscure the finer details in your image and result in less sharp and clear photos or videos. It's particularly noticeable in areas of uniform color, such as blue skies or dark shadows, and can give your image a rough, grainy texture. While some noise can be removed in post-processing, it's generally best to try and minimize noise as much as possible when shooting, typically by using the lowest ISO setting that allows for a proper exposure.
Pros and cons of ISO controls
Manual ISO
Pros
- Provides full control over your camera's sensitivity to light, allowing you to make precise adjustments based on your visual preferences and shooting conditions.
- Enables consistency across multiple shots, which is particularly useful when shooting a series of photos in similar lighting conditions.
Cons
- Requires a solid understanding of how ISO interacts with shutter speed and aperture. Inexperience may lead to improperly exposed images.
- Can be time-consuming to adjust, particularly in rapidly changing lighting conditions.
Automatic ISO
Pros
- Convenient for beginners or those unfamiliar with how lighting affects photography, as the camera makes the necessary adjustments.
- Ideal for situations where lighting conditions are constantly changing, and manual adjustments would be challenging to implement in real-time.
Cons
- The camera's automatic settings may not always align with your creative vision. For instance, the camera may choose a higher ISO to brighten an image, introducing unwanted noise.
- You lose some control over the final look of your image or video, which could be a disadvantage for professional photographers or videographers aiming for a specific effect.
The Art of ISO in photography
To truly become an expert at using ISO effectively, practice experimenting with different ISO values in various lighting conditions. Observe the impact on your images or videos' exposure, noise levels, and overall quality. As you gain experience,
find your right camera, and take more photos, you'll develop an intuition for choosing the right ISO settings to achieve optimal results.
Frequently asked questions about ISO
About the author: Brandon Sanders
Tech enthusiast, gamer, and digital wizard.
Brandon Sanders is an ardent technology enthusiast, photographer, gamer, and digital marketing aficionado. With his deep-rooted passion for all things tech, he is always on the lookout for the latest gadgets and software to enrich his digital experience. As a photographer, Brandon finds joy in capturing the intricate beauty of life's fleeting moments, often exploring his environment through the lens of his camera. He thrives on employing innovative digital strategies and exploring emerging trends, always seeking to enhance the visibility and impact of brands in the digital space. More than just hobbies, these facets of Brandon's life reflect his tireless quest for knowledge, creativity, and the drive to stay ahead in the fast-paced digital era.
